本文最后更新于 282 天前,其中的信息可能已经有所发展或是发生改变。
前言
嘻嘻嘻(千早爱音唐笑),作者花60CNY去开盲盒,赌路由器里面的HDD是好的,然后赌输了。
不过呢,60CNY进一台成品单盘NAS,还是可以的,可以说的上是我人生中第一款真正意义上的NAS,而不是服务器或者老电脑共享个samba的事。
我发现 OpenWRT 官方的下载页面中没有这款路由器,只有 kwrt 和 immortalwrt 里面才有,而且 kwrt 支持不完善,只有 eth0 和 eth1 ,没有 wan 和 lan ,用不了一点, immortalwrt 起码能用,但是把 wan 划入 br-lan 也会炸,所以不能说好用。
我想做一个小型的存储盘,しかし我发现我在大量拷贝文件的时候,整机温度竟然达到了惊人的 85 摄氏度,我嘞个豆,小米路由器HD上自带的风扇怎么在摸鱼!给我はたらく!
准备材料
- 人一个(最好聪明点,有 Linux 运维经验)
- AI一位(推荐 grok , chatgpt 和 kimi 都玩不明白 fan2go ,截止2025年10月12日)
- 小米路由器HD一台(刷好 immortalwrt )
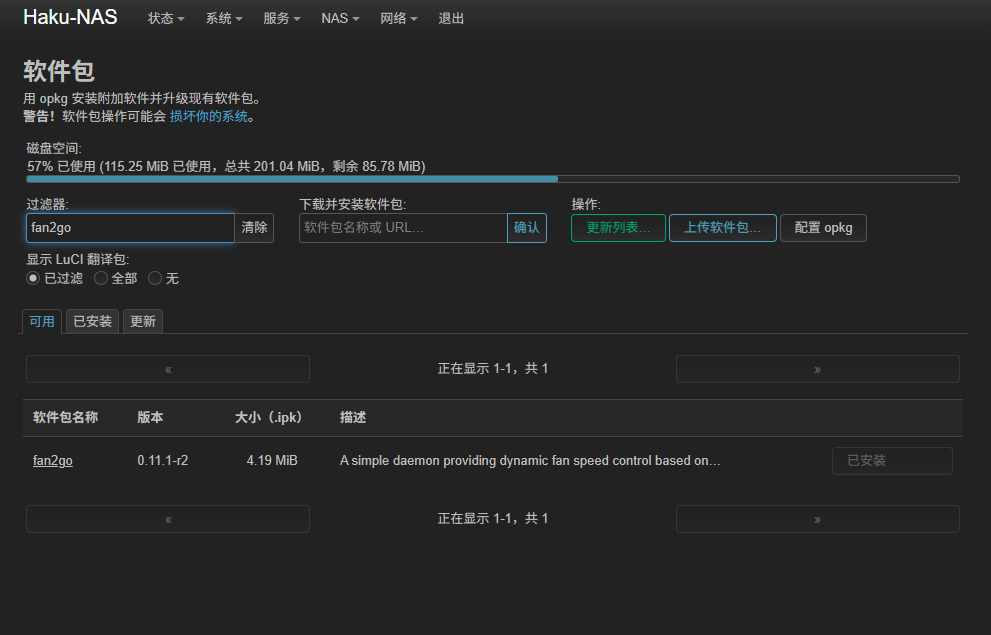
安装 fan2go
去软件包里面安装就完事了。(大闪存安装软件来就是爽)
风扇控制介绍(至少对我自己的机器)
进入你的机器,执行 fan2go detect 应该会有如下输出。
root@Haku-NAS:~# fan2go detect
=========== hwmon: ============

> Platform: ath10k_hwmon-pci-010100
  Sensors  Index  Label                        Value
           1      hwmon13/temp1 (temp1_input)  N/A

> Platform: sensor4_thermal-virtual-0
  Sensors  Index  Label                       Value
           1      hwmon4/temp1 (temp1_input)  55000

> Platform: emc2305-i2c-0-2f
  Fans     Index  PWM Channel  RPM Channel  Label         RPM  PWM  Mode
           1      1            1            hwmon11/fan1  0    0    N/A
> Platform: sensor2_thermal-virtual-0
  Sensors  Index  Label                       Value
           1      hwmon2/temp1 (temp1_input)  52000

> Platform: sensor0_thermal-virtual-0
  Sensors  Index  Label                       Value
           1      hwmon0/temp1 (temp1_input)  52000

> Platform: sensor9_thermal-virtual-0
  Sensors  Index  Label                       Value
           1      hwmon9/temp1 (temp1_input)  52000

> Platform: sensor7_thermal-virtual-0
  Sensors  Index  Label                       Value
           1      hwmon7/temp1 (temp1_input)  50000

> Platform: ath10k_hwmon-pci-0100
  Sensors  Index  Label                        Value
           1      hwmon14/temp1 (temp1_input)  40000

> Platform: sensor5_thermal-virtual-0
  Sensors  Index  Label                       Value
           1      hwmon5/temp1 (temp1_input)  54000

> Platform: tmp75-i2c-1-48
  Sensors  Index  Label                        Value
           1      hwmon12/temp1 (temp1_input)  38750

> Platform: sensor3_thermal-virtual-0
  Sensors  Index  Label                       Value
           1      hwmon3/temp1 (temp1_input)  53000

> Platform: sensor10_thermal-virtual-0
  Sensors  Index  Label                        Value
           1      hwmon10/temp1 (temp1_input)  53000

> Platform: sensor1_thermal-virtual-0
  Sensors  Index  Label                       Value
           1      hwmon1/temp1 (temp1_input)  52000

> Platform: sensor8_thermal-virtual-0
  Sensors  Index  Label                       Value
           1      hwmon8/temp1 (temp1_input)  50000

> Platform: sensor6_thermal-virtual-0
  Sensors  Index  Label                       Value
           1      hwmon6/temp1 (temp1_input)  54000
这样就代表系统已经正常驱动风扇了。
如果我们想手动控制风扇,我们需要找到 /sys/class/hwmon/hwmon11/pwm1 来控制他(数值在0-255之间)
echo 255 > /sys/class/hwmon/hwmon11/pwm1
#拉满了兄弟
自动控制风扇
AI太好用了你们知道吗?
fan2go 会读取 /etc/fan2go/fan2go.yaml 的配置文件进行操作。我这里贴一张我自己的配置文件给大家用,或者大家可以按照自己的需求丢给AI自己改就完事了。
# fan2go.yaml configuration file
# Based on the output of 'fan2go detect'
# This is a basic configuration controlling the single detected fan
# using the highest temperature sensor (sensor4_thermal-virtual-0 at 54C, likely CPU)
# with a simple linear curve for fan speed.
sensors:
# CPU temperature sensor (assuming sensor4_thermal-virtual-0 is CPU, highest temp)
- id: cpu_temp
hwmon:
platform: sensor4_thermal-virtual-0
index: 1
# Ambient temperature sensor (tmp75)
- id: ambient_temp
hwmon:
platform: tmp75-i2c-1-48
index: 1
# WiFi temperature sensor
- id: wifi_temp
hwmon:
platform: ath10k_hwmon-pci-0100
index: 1
# Define basic linear curves first
curves:
# Linear curve for CPU
- id: cpu_curve
linear:
sensor: cpu_temp
steps:
- 40: 0 # Below 40C, fan off (0 PWM)
- 50: 50 # 50C -> 20% speed (50/255)
- 60: 128 # 60C -> 50% speed
- 70: 200 # 70C -> ~78% speed
- 80: 255 # 80C -> 100% speed
# Linear curve for WiFi (less aggressive)
- id: wifi_curve
linear:
sensor: wifi_temp
steps:
- 50: 0
- 60: 30
- 70: 100
- 80: 255
# Composite curve that takes the maximum from CPU and WiFi curves
- id: max_temp_curve
function:
type: maximum
curves:
- cpu_curve
- wifi_curve
# The single fan detected
fans:
- id: main_fan
hwmon:
platform: emc2305-i2c-0-2f
pwmChannel: 1
rpmChannel: 1
curve: max_temp_curve
neverStop: true # Prevent fan from stopping completely to avoid dust buildup
minPwm: 30 # Minimum PWM to keep fan spinning
maxPwm: 255
# Optional: Enable statistics exporter for monitoring (e.g., via Prometheus/Grafana)
statistics:
enabled: true
port: 9000
# Optional: Enable API for querying current values
api:
enabled: true
host: localhost
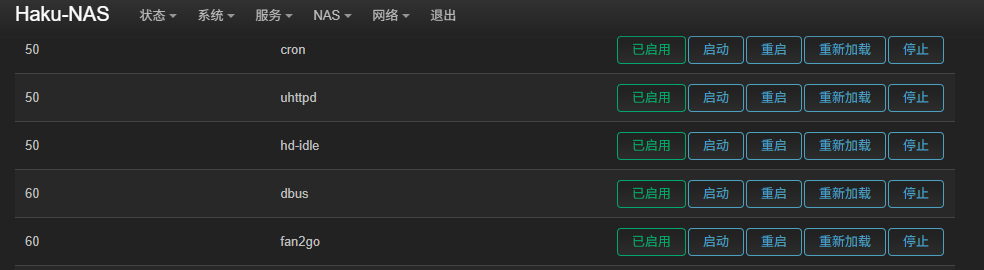
port: 9001服务项启动
其实你安装的时候他就安装为服务开机自启了😋。